Car drawings > Blog > Making a double Morgan 1912
Making a double Morgan 1912
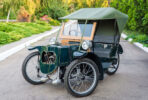
It’s time to share the first results of a two-month hard work with the drawings for a new project. This time, the replica Morgan will be double, a copy of the 1912 model. Perhaps the most difficult period is the development of drawings, it can be said, 75% passed, there are still a lot of small details and general coordination of all components and parts.
In this replica, although the exhibition copy, we will carry out all the subtleties belonging to this model of Morgan: a gearbox with a two-speed gearbox, steering with a real steering wheel, belt brake drums, a windscreen and a folding awning covering both passengers during bad weather. The model (model) of the engine, we will manufacture similarly to the 1910 model.
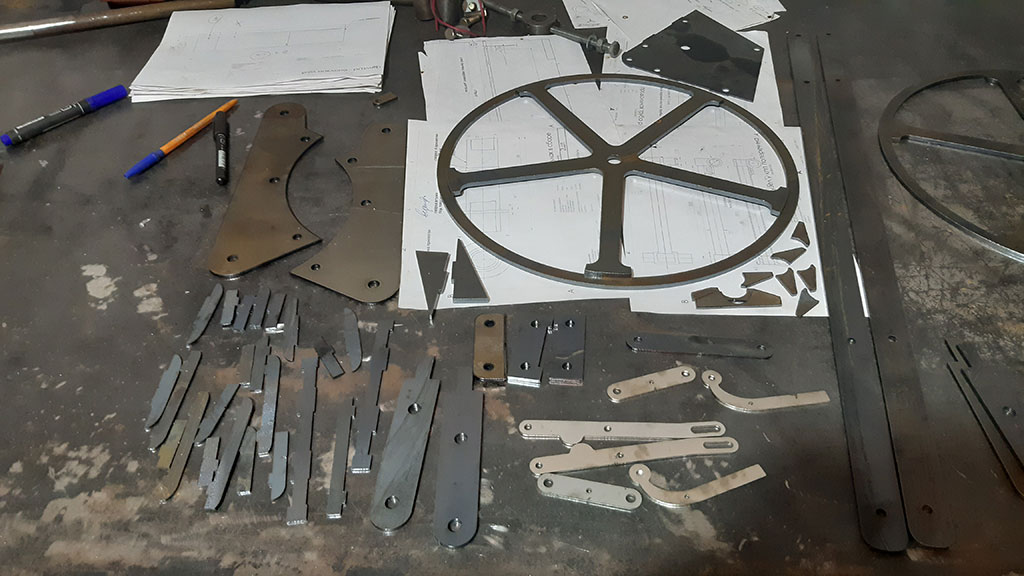
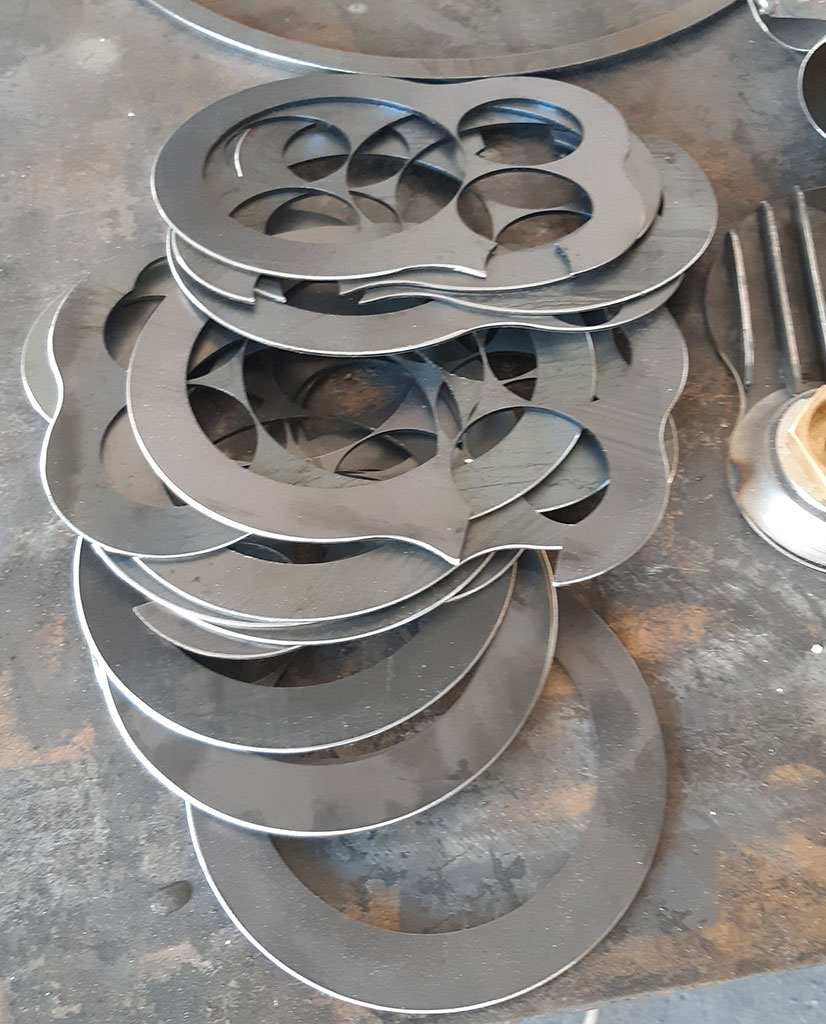
At the same time ordered turning parts, laser cutting and other materials. At the moment, something is already being drawn: parts made by laser cutting, turning, etc. Follow the continuation of the project …
Project photo


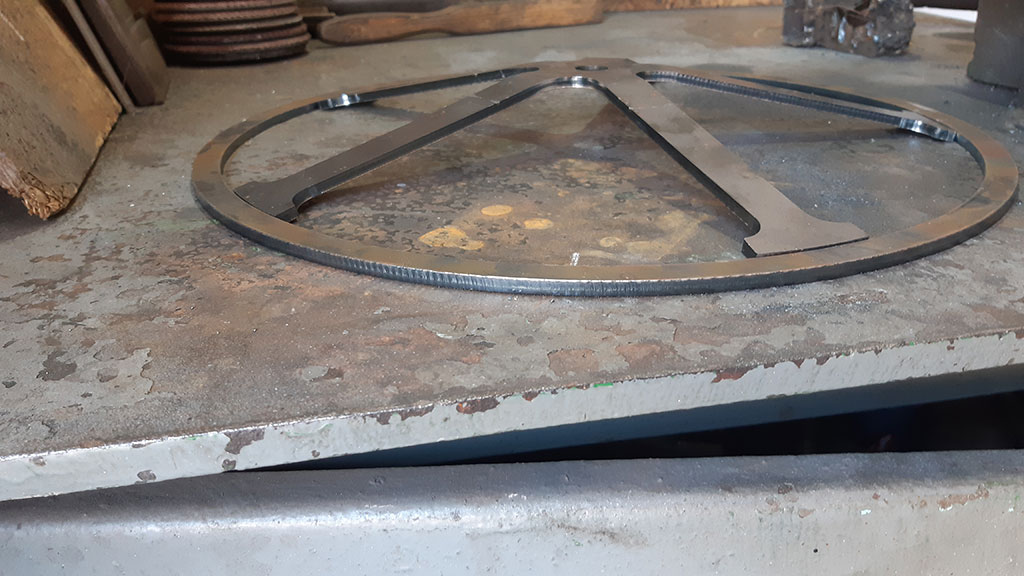


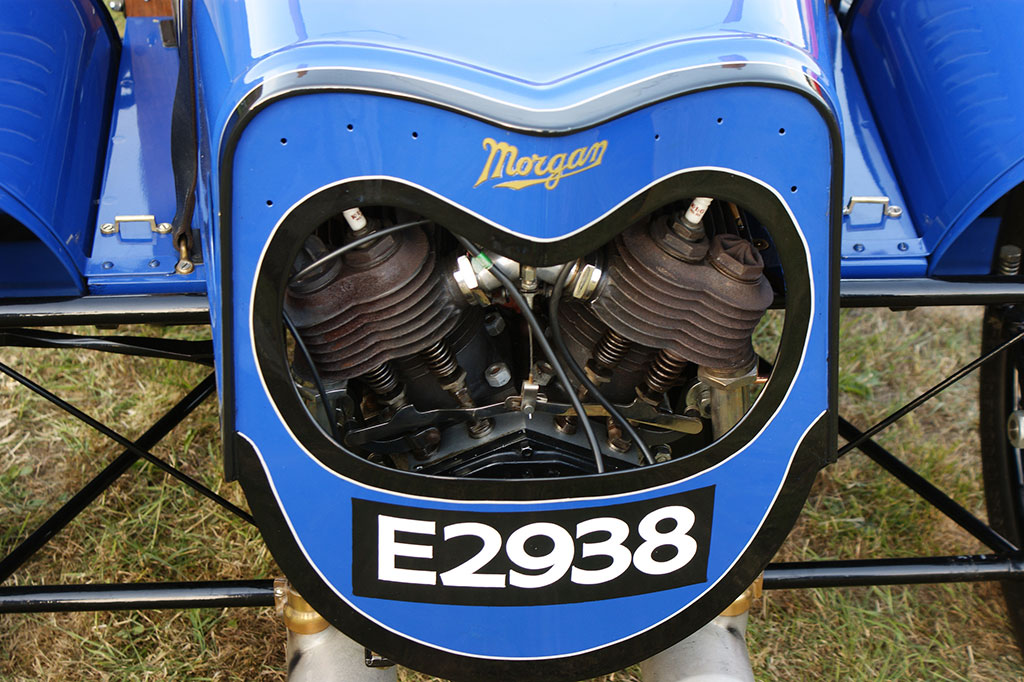
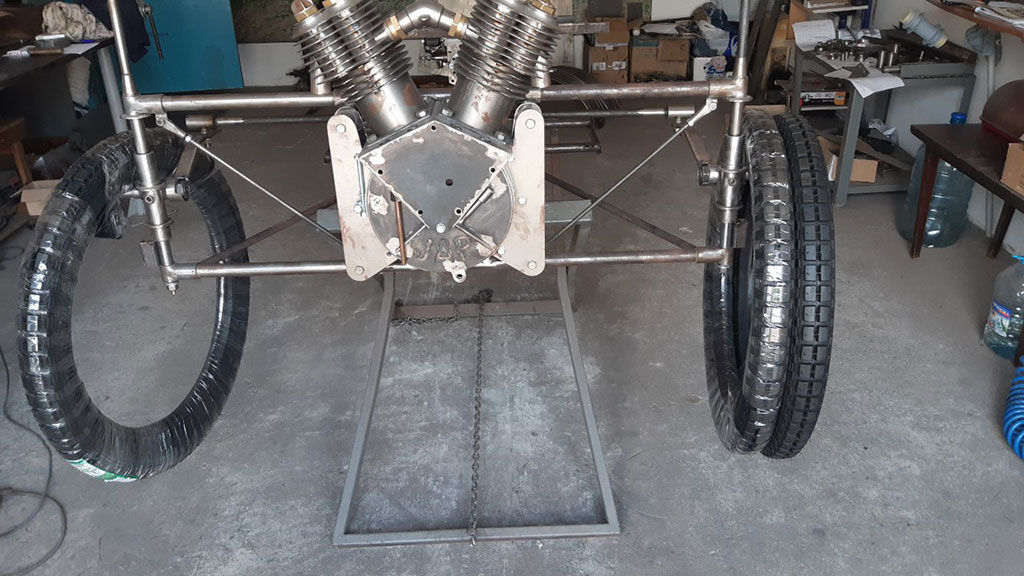
Engine layout and assembly for replica Morgan 1912
We continue the news on the construction of the replica M4 Morgan 1912 (today 25-06-19).
The work is proceeding steadily, which is delayed by subcontractors, so in parallel with the frame we begin to assemble the engine (layout) and those parts for which there are materials.
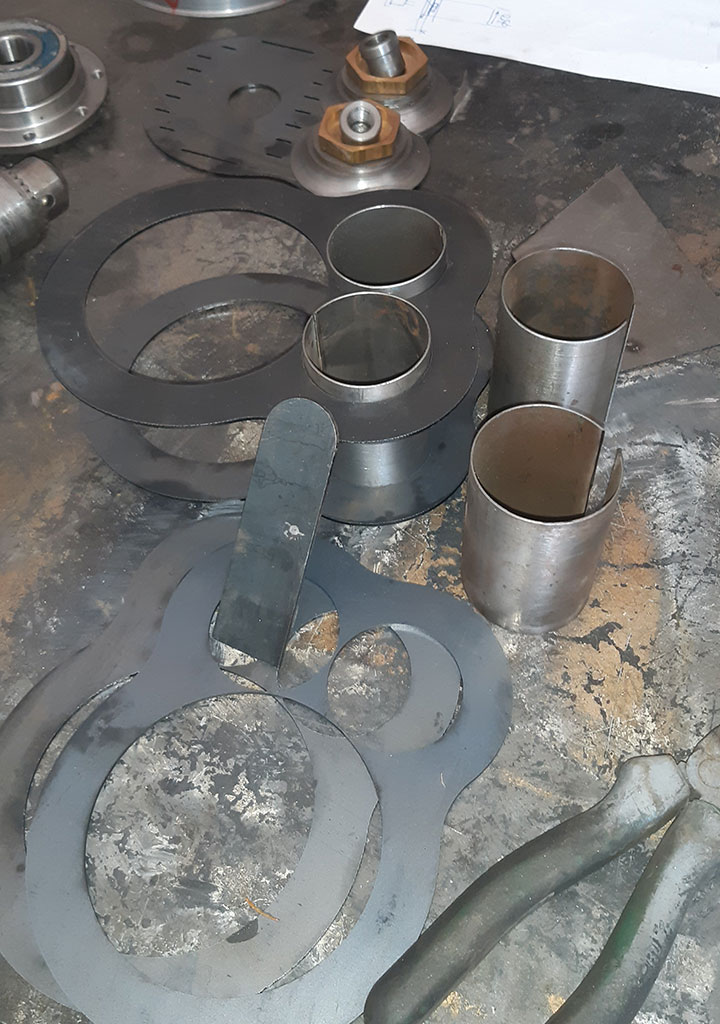
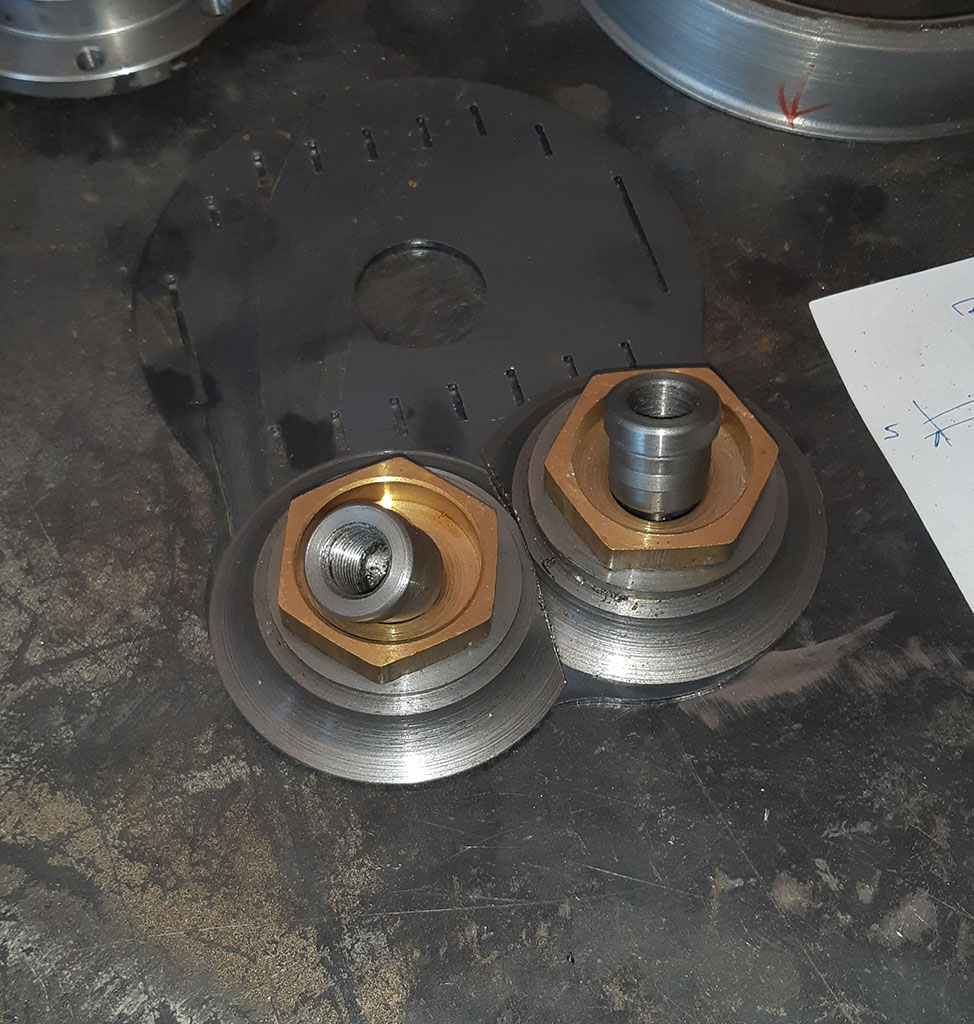
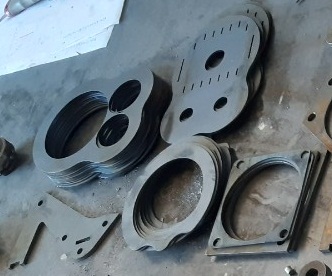
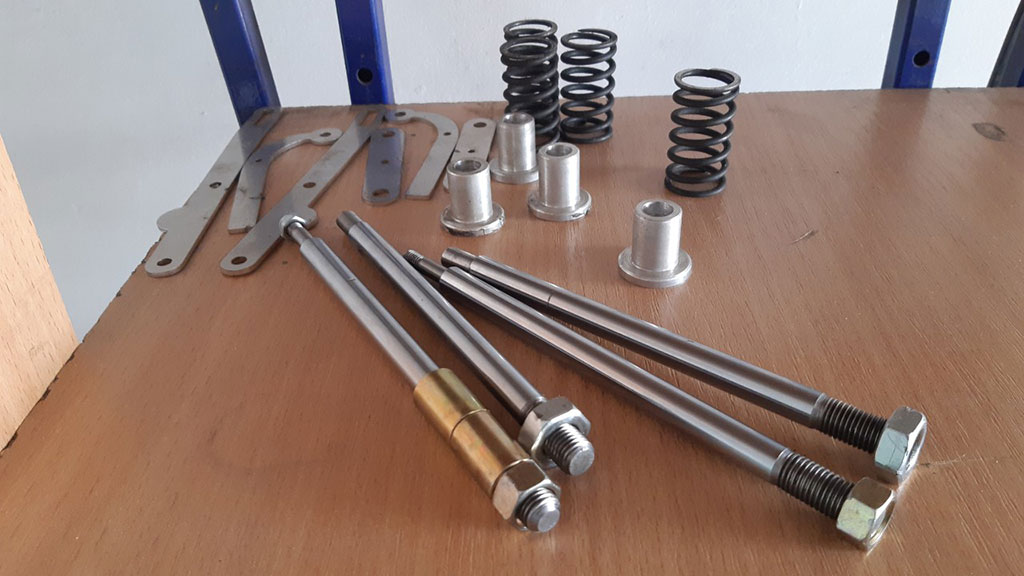
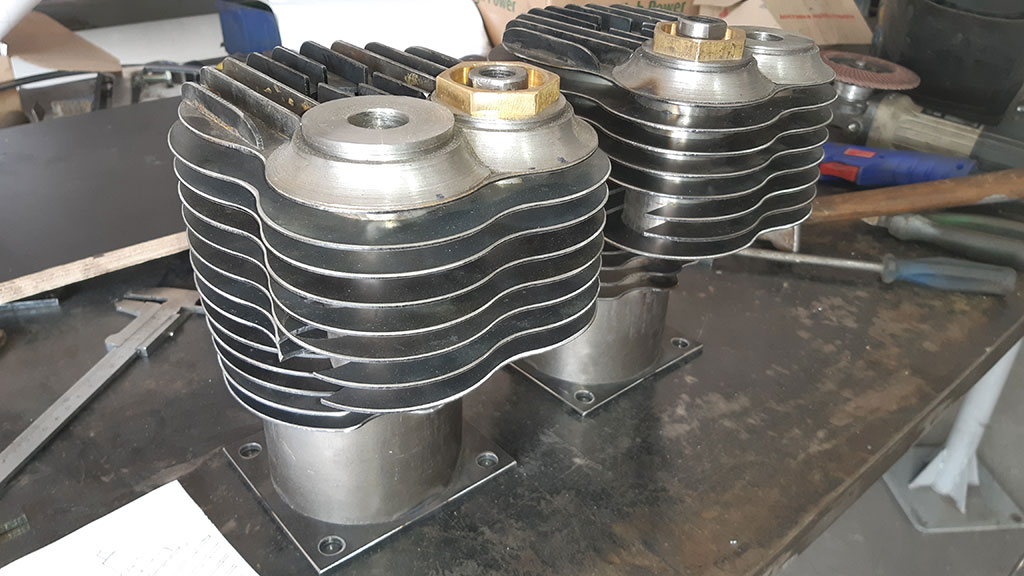
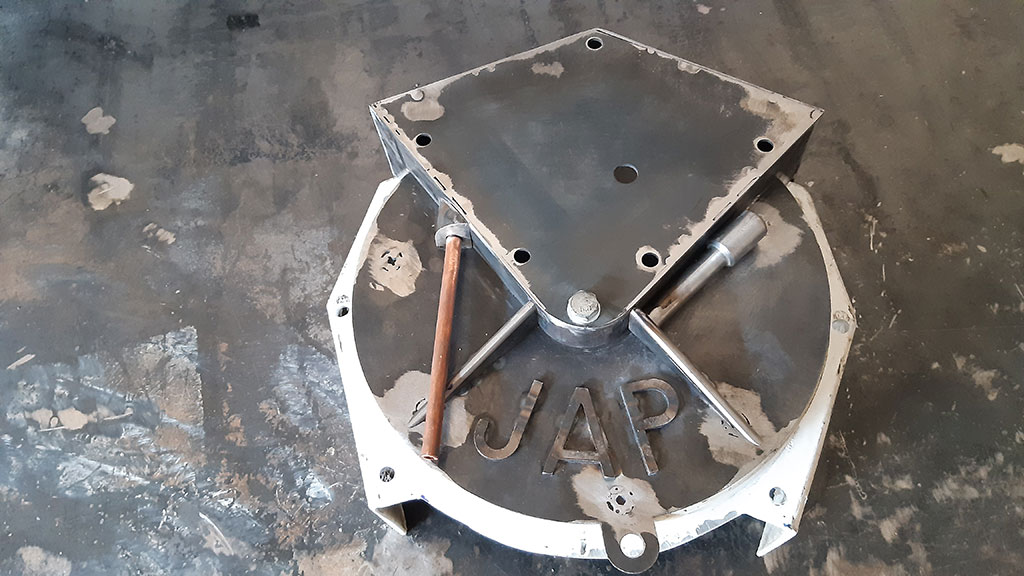
This engine layout is the fourth in a row, on the third, we manufactured the matrix of the 1909 block. Therefore, a plastic block (glass mat plus polyester resin), which we received from plastic specialists, is taken as a basis; it is practically universal, both for 1909 and for 1910 – 12 years. For a real replica, it certainly needs to be improved, we make adjustments and plan to assemble a mechanism that will drive the valve – a purely visual imitation of the engine. We still have to work on this, like a trifle, and perhaps takes more time than collecting a frame). Speakers will be inserted into the silencers, giving the sound of a working motor). Drawings on the layout are ready for 80% with new improvements. We got the details of laser cutting for assembling the cylinders and cylinder heads of the engine, now fitting, assembly welding and gradually the layout will more and more resemble the real engine of those years…
So that the amount of work for a couple of weeks is at least guaranteed. Follow the next news.
There will be questions – ask. We also remind about the section of drawings of retro cars on our website, which are constantly updated.
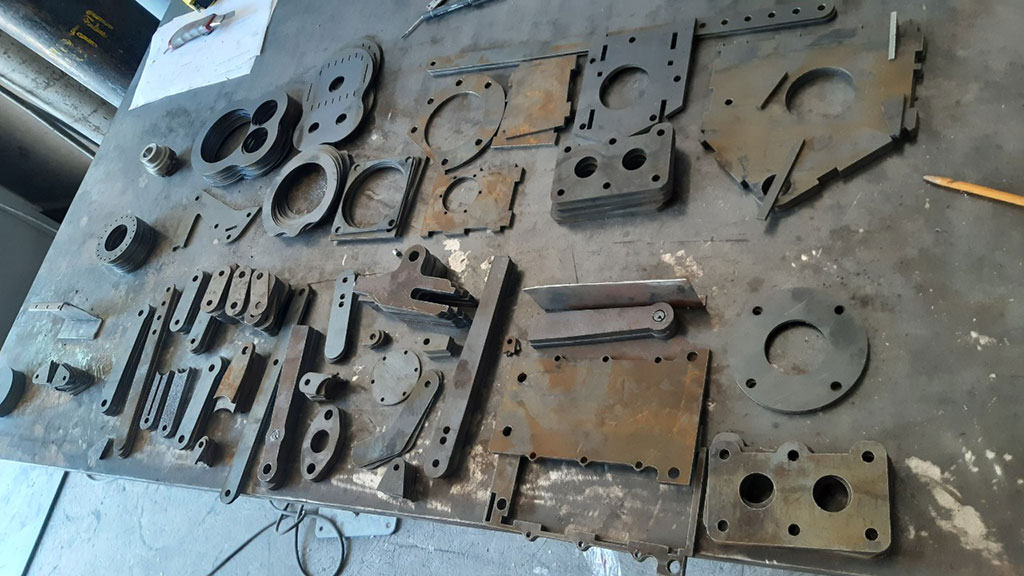
Engine photo


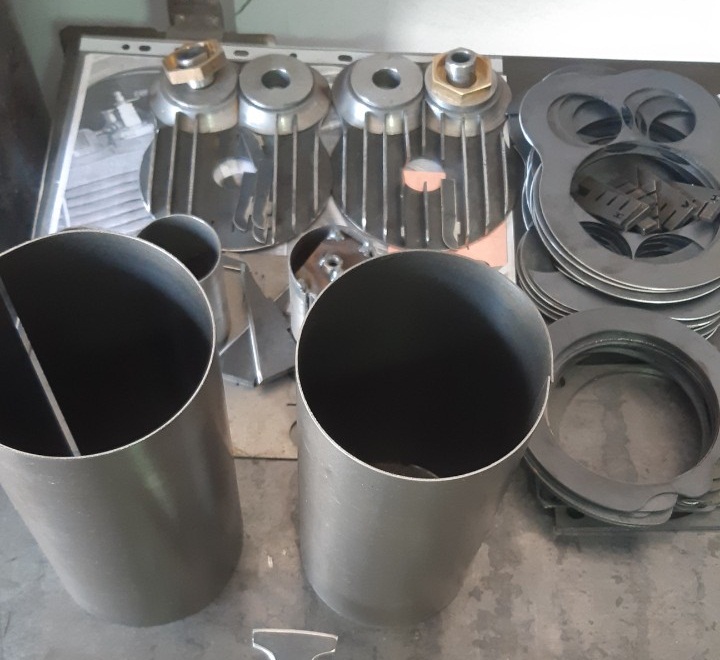
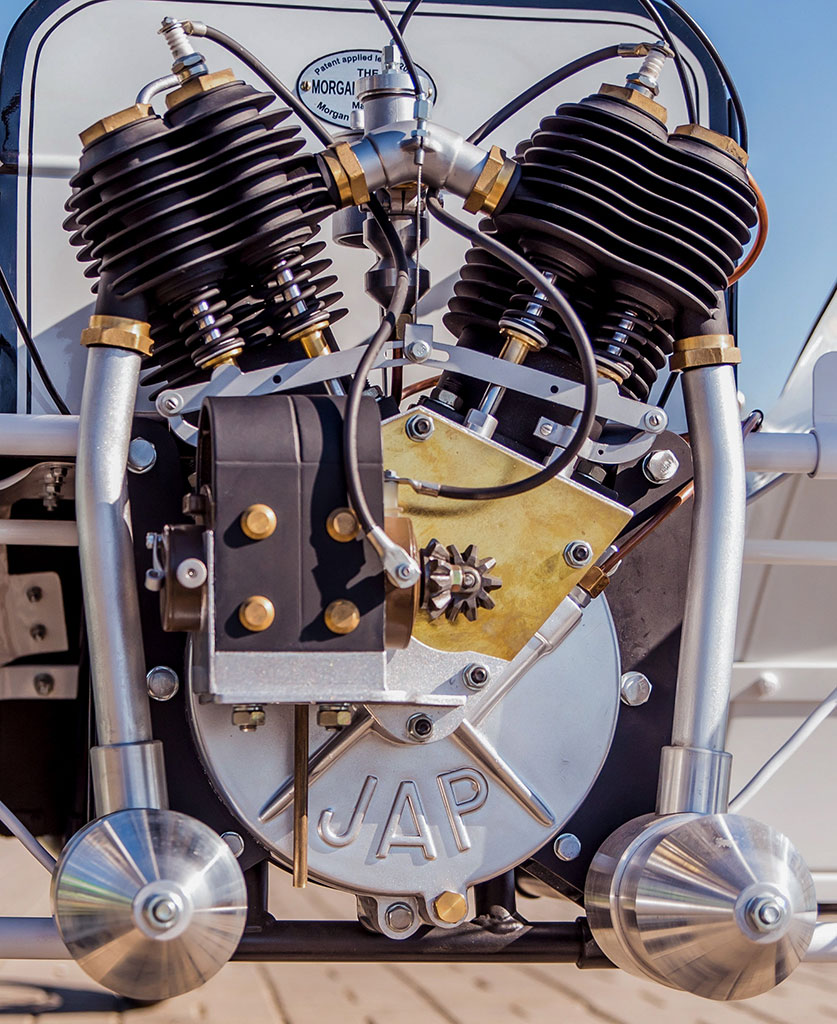
Engine assembly
Dear readers, we continue to build the engine layout.
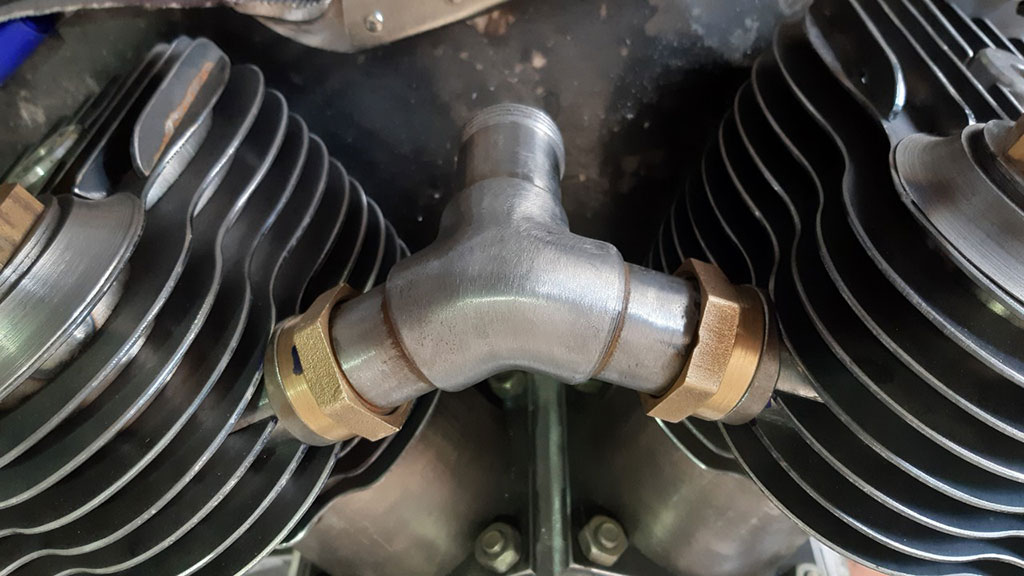
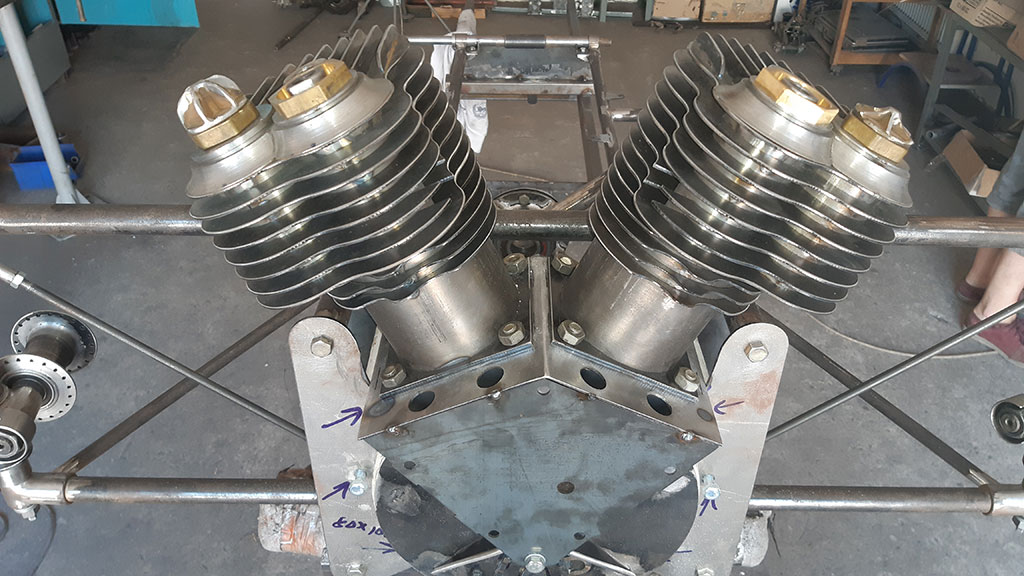
The process is productively assembled cylinders, this time faster than expected, the heads of the blocks, they produced plugs. They also made a pipe for the carburetor, they decided to make the carburetor completely themselves (they used to buy used cars from old motorcycles and refined them), painstaking handmade work, similar to the original. In principle, all the work on this project is dominated by manual labor: fitting, refinement, at times decisions come at the time of manufacture, regardless of the drawings. Perhaps this is what stands out for these projects – creative, not to be bored.
Photos of finished parts

Steering
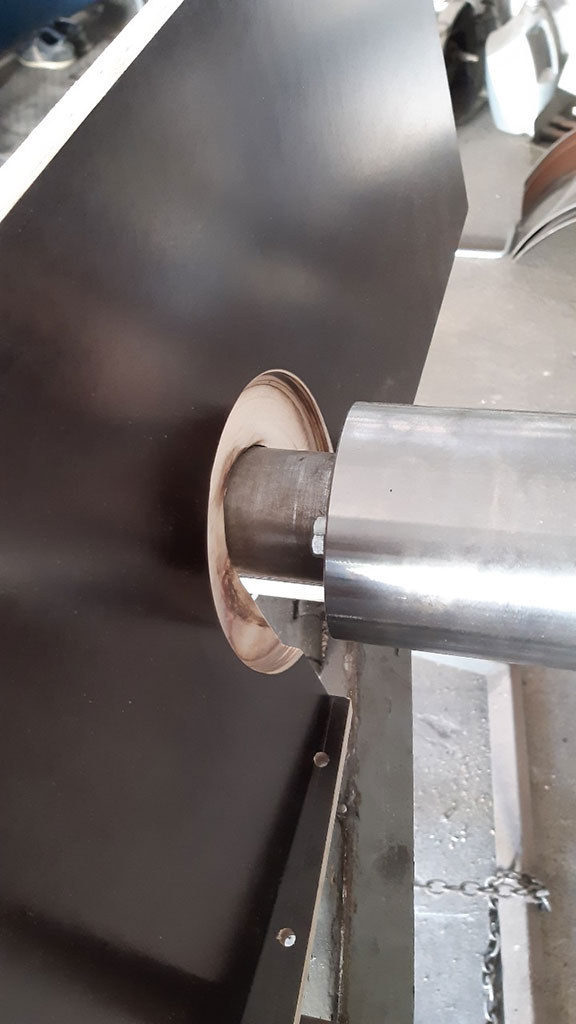
Morgan 1912 has already been made in a double version. The designer of that time refused the pivot arm (steering control of the car) and manufactured the steering wheel. Therefore, we began to decide the issue of copying the steering wheel and its production from photographs. In our opinion, we are good at it. The metal base was made and transferred to a woodworking master for the manufacture of a wooden ring.
Photo steering


Morgan at work
A lot of time has passed since the last publication. This post will be a little about everything.
Joiner (carpentry) – completed the steering wheel – carpentry (photo), it remains before the final assembly to paint the steering wheel spokes.
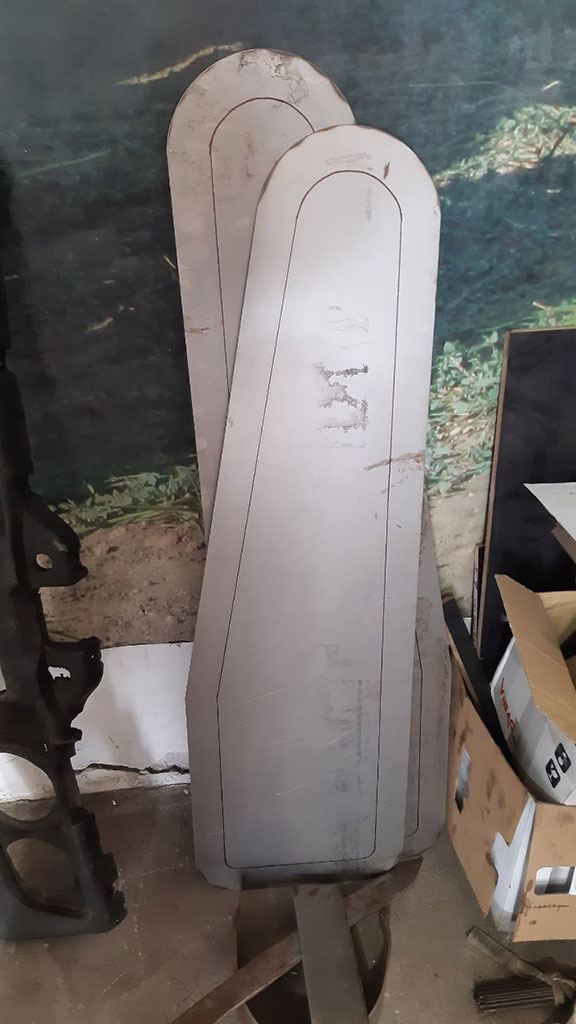
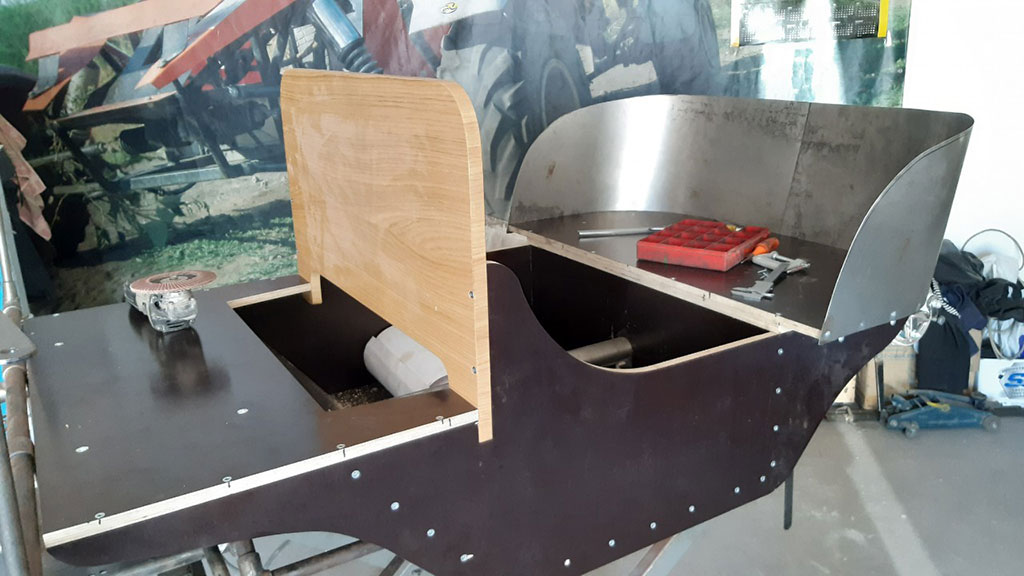
Ready – the so-called torpedo and glass frame, now install them on the body frame of plywood and coordinate with each other.
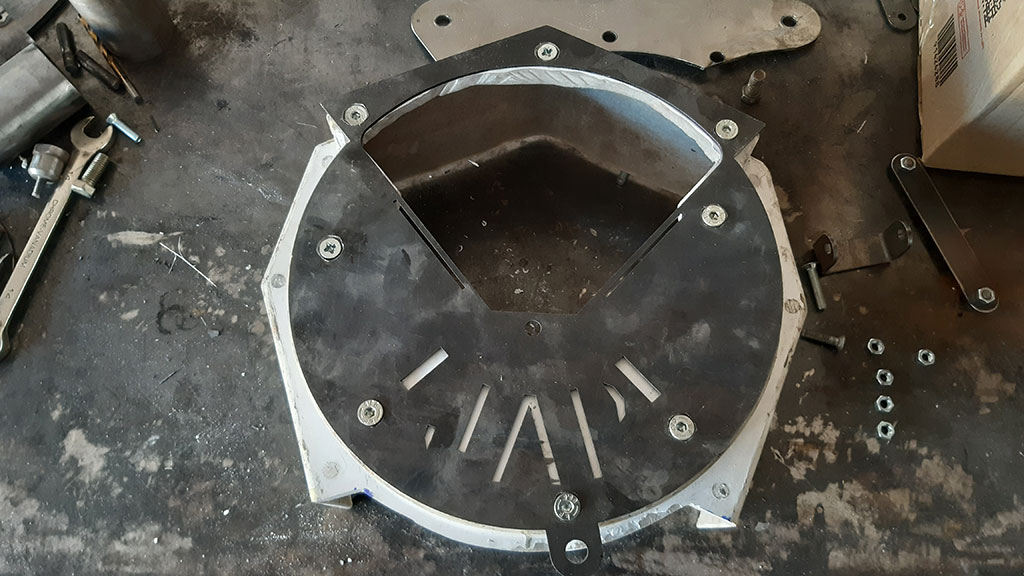
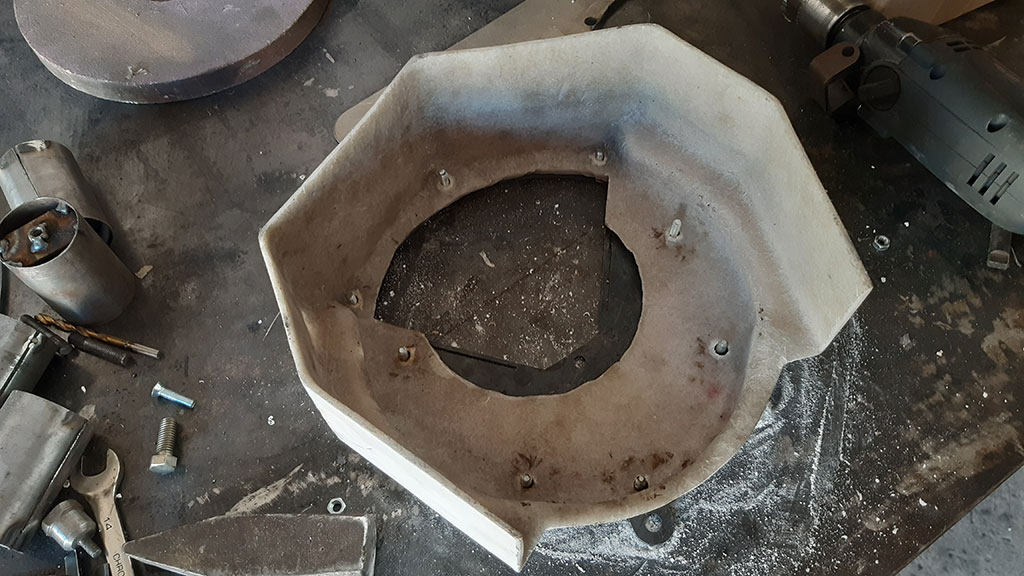
We cut the bakelite plywood and assembled the main body frame, this is a rough assembly and will require many more improvements to perfect condition.
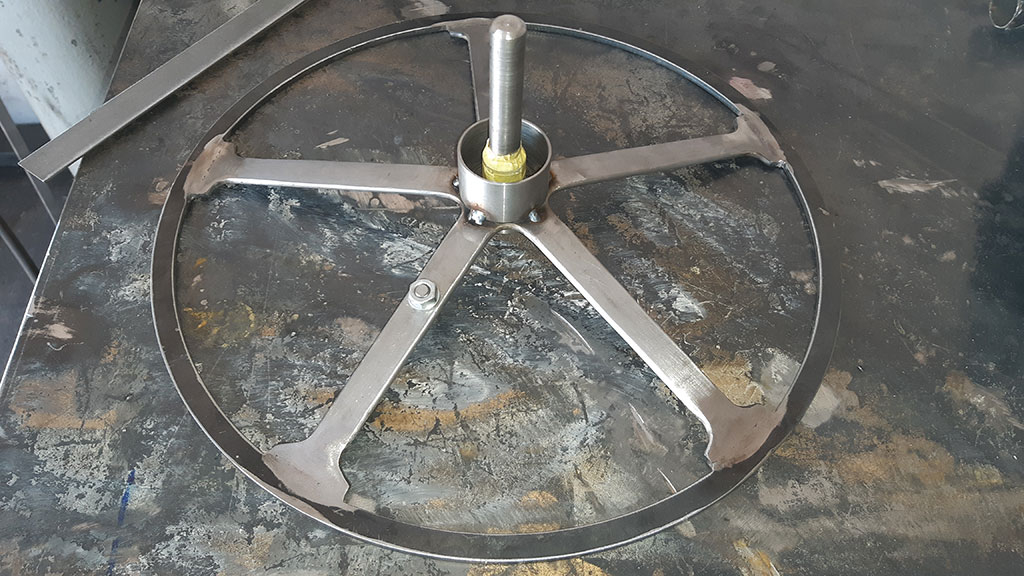
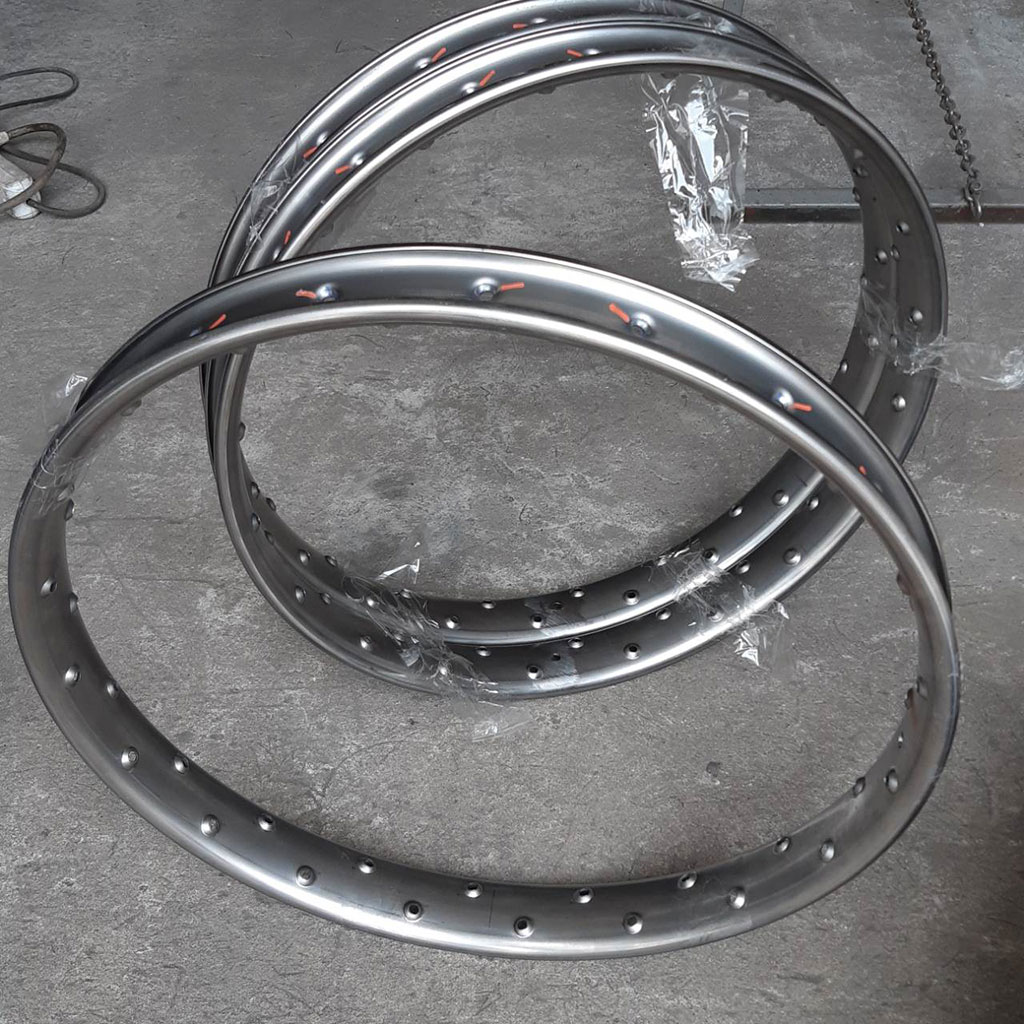
We received 26-inch rims from England, made on special order – sent to the painter, then to the spoke of the wheels, wheels with hubs – this will be a separate report on the wheels.
We assembled the engine layout block and opened it with soil, we are waiting for the missing parts and materials for the final assembly of the layout.
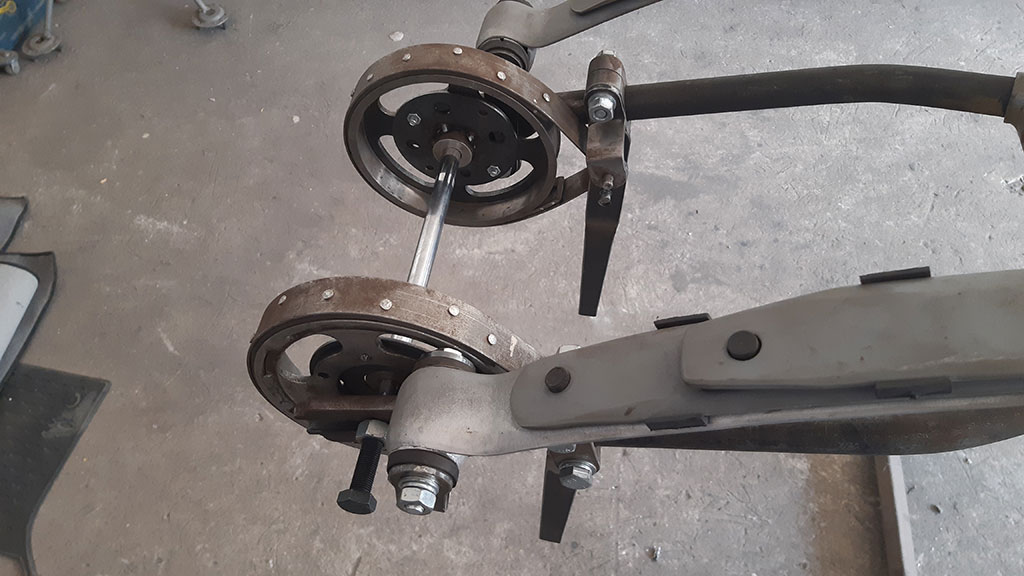
Previously assembled the rear belt brakes, this time refused to buy Chinese tapes from ferido, still have to refine (cut, cook, etc.) – they decided that it would be easier to make immediately what is needed. It turned out better, better and even cheaper)
Photos of completed work


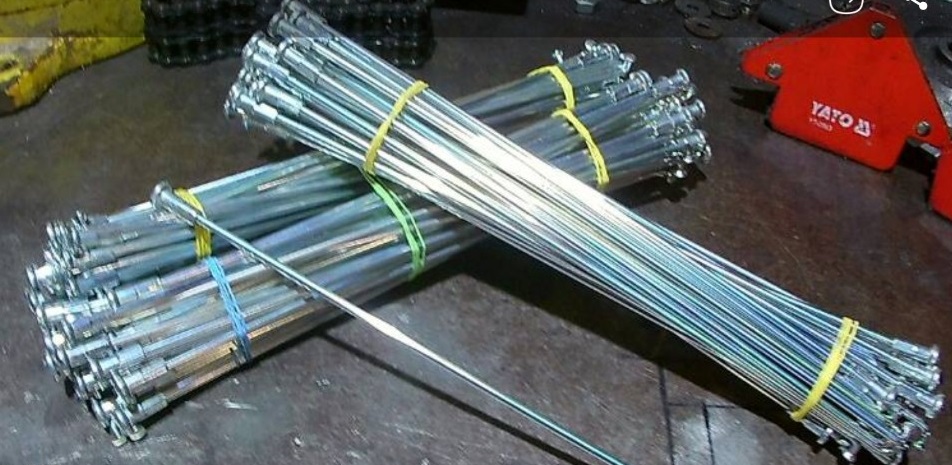
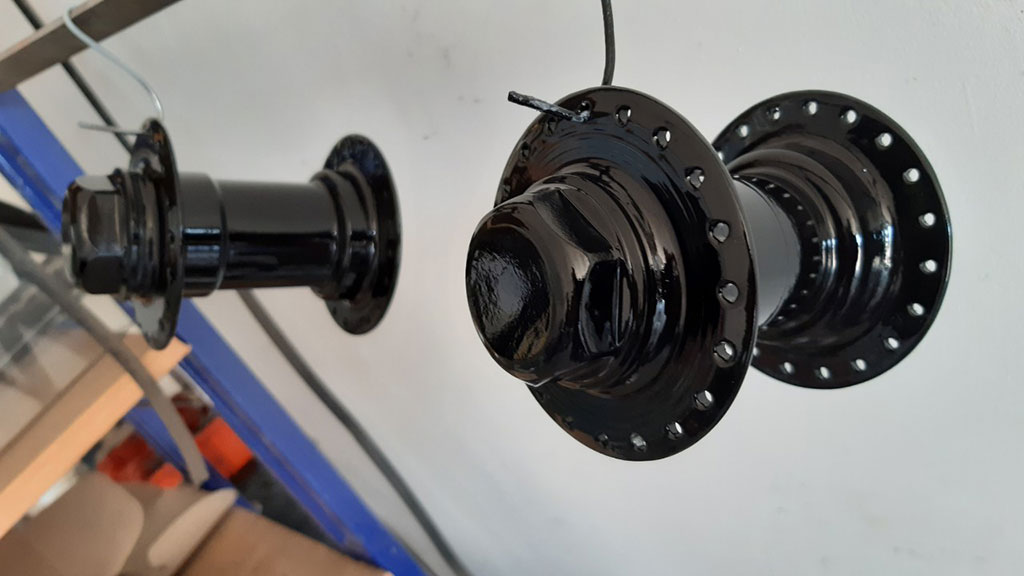
Wheels
This time with the wheels it turned out a little more complicated than expected:
- tires – for a long time they could not find the required size. Past suppliers are no longer working, at least they have not answered us on request. With the help of the client, we found other suppliers in Germany. Ordered. The question arose with the delivery and the recipient, we won’t go into details – this issue was solved positively through third parties in Germany). We already got tires
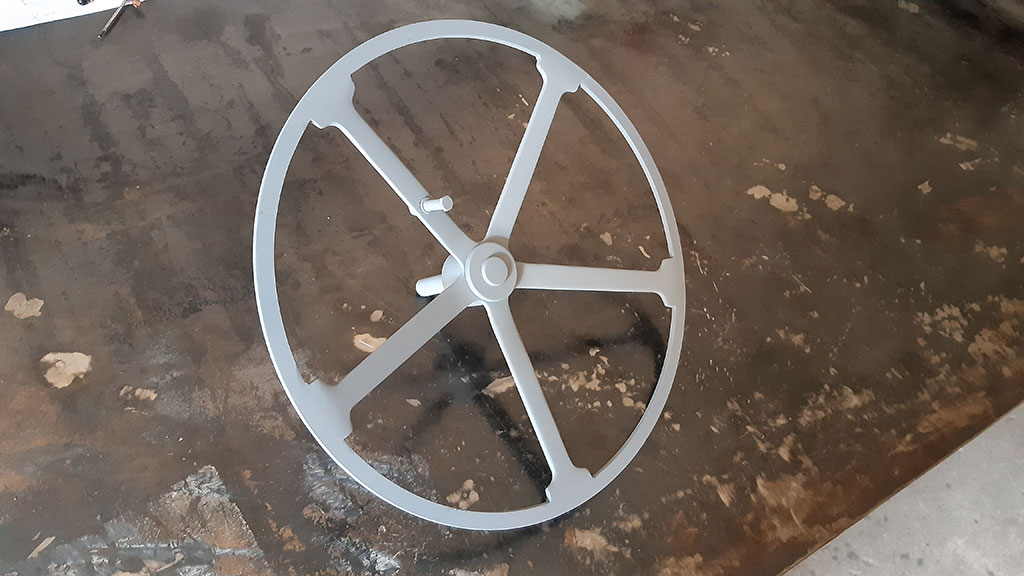
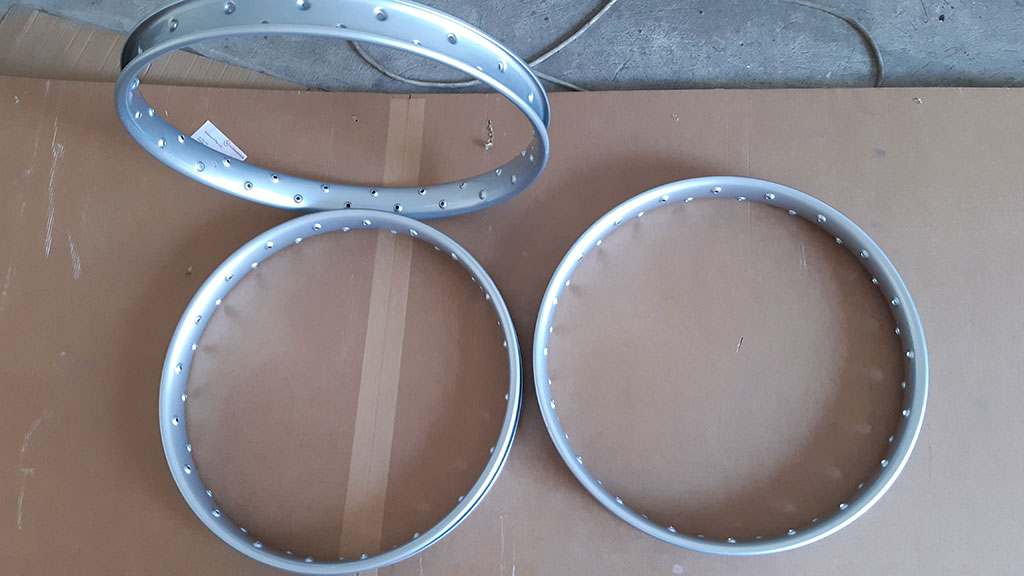
- wheel rims – similar problems with tires. We found a manufacturer in England, ordered and received. They gave the painter a painting in silver. Silver disc + hub will be black, customer wishes
- knitting needles ordered in Ukraine the required size (diameter 3 mm). They were made for a long time, since we had enough time. Timing allow
- they gave already painted wheels, hubs, spokes and tires to specialists in the spoke-wheel of motorcycle wheels. The other day you should get the wheels in full glory assembled. We wait
Photos wheels

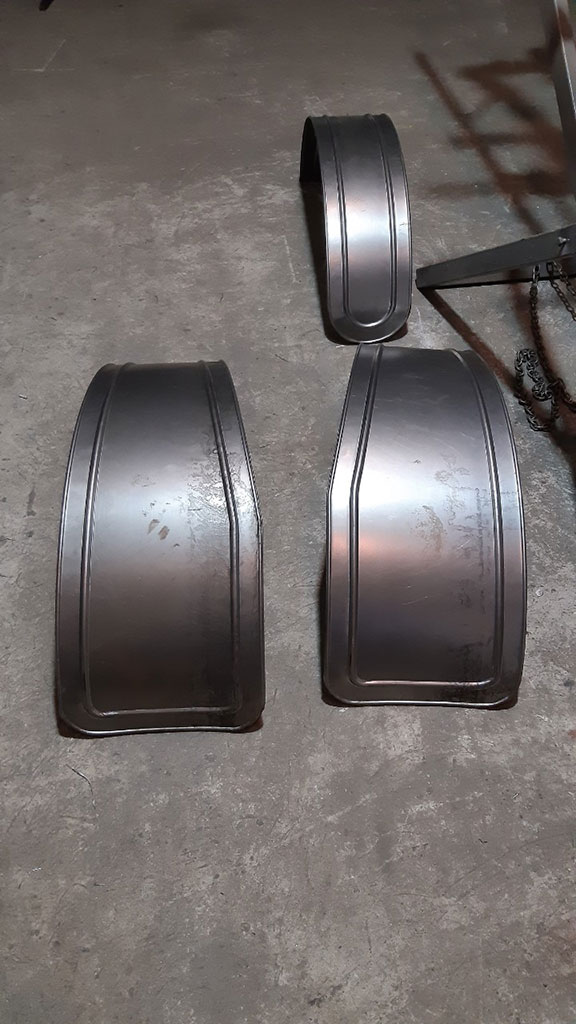
Tin works
So the turn came to tin works. Much has been done:
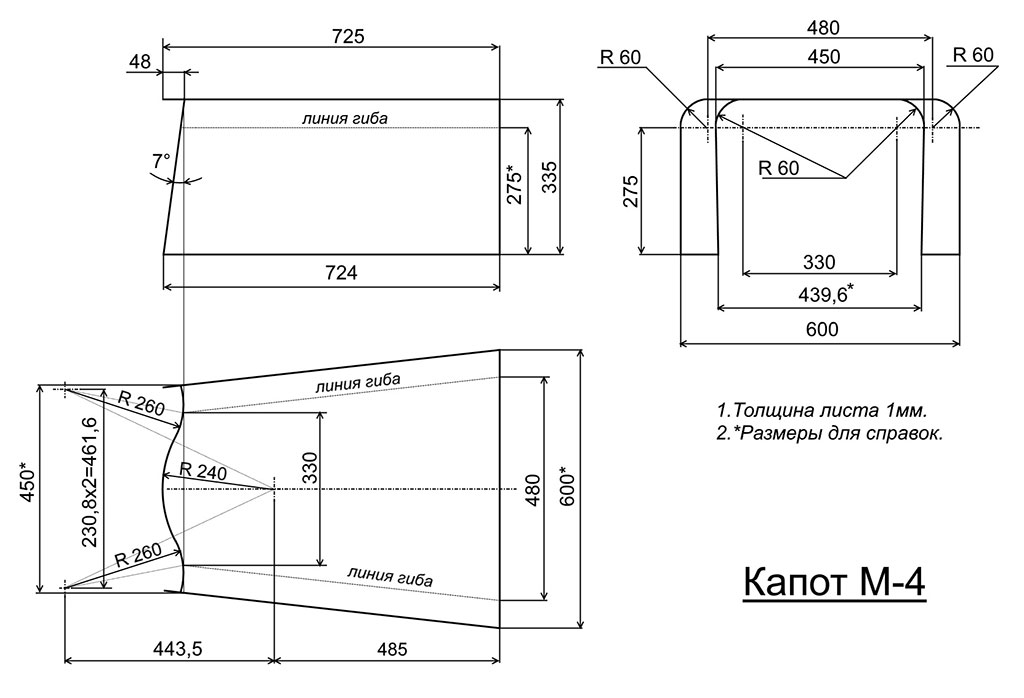
- We worked and drew the details of the wings, the hood, the back of the seats and the nose of the hood
- performed the cutting of all metal parts, with the exception of the nose of the hood – we will manufacture in fact, after bending and zigovka of the hood
- zigzag the wings, it remains to glaze the back of the seats and hood and other details
After installing the wings, perhaps the most labor-intensive process for the tin will begin – the wing flaps, which are a rather complex geometric shape. As you draw (the basic manufacturing principle) – manual work in place, bending, bending, bending and fitting again, connecting the wing and the base of the body from bakelite plywood. When they did it for the first time, they thought to whom it occurred to him. Can we? But it worked out, of course, not the first time